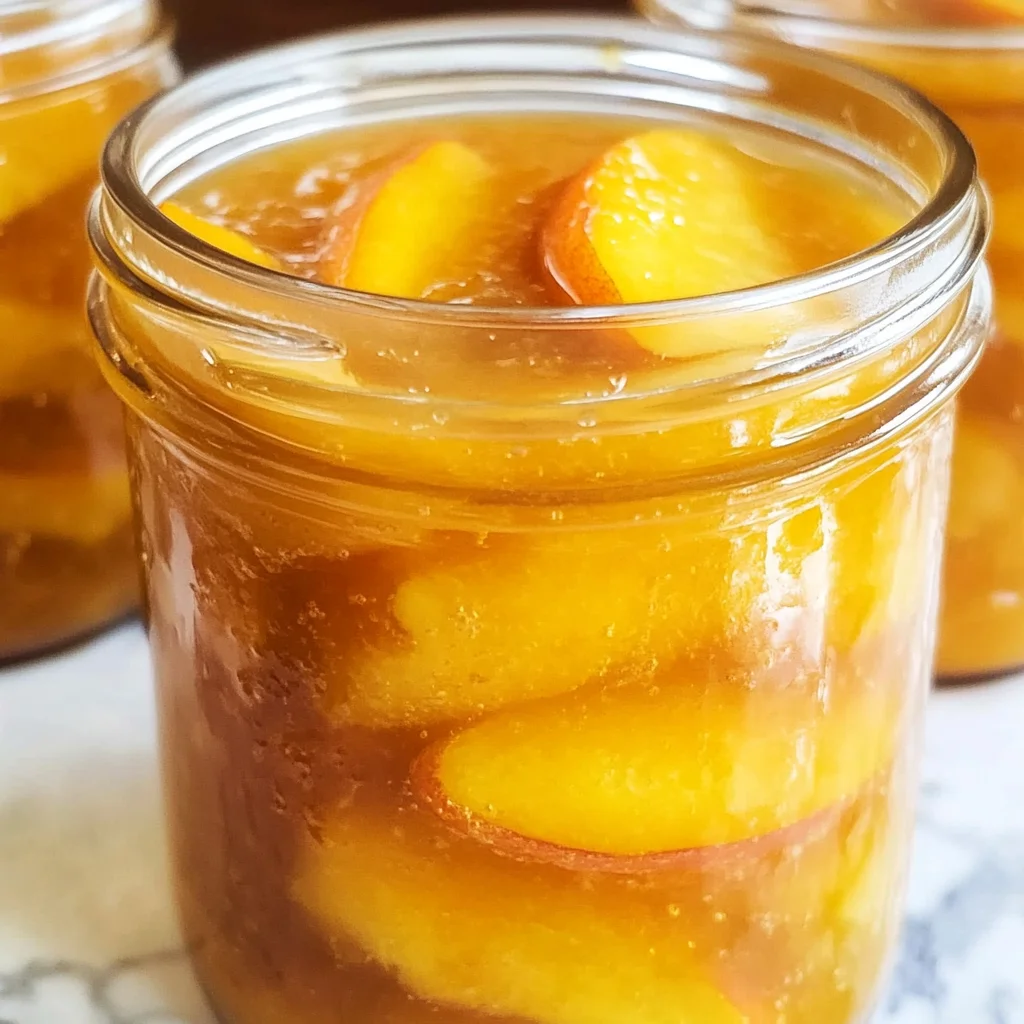
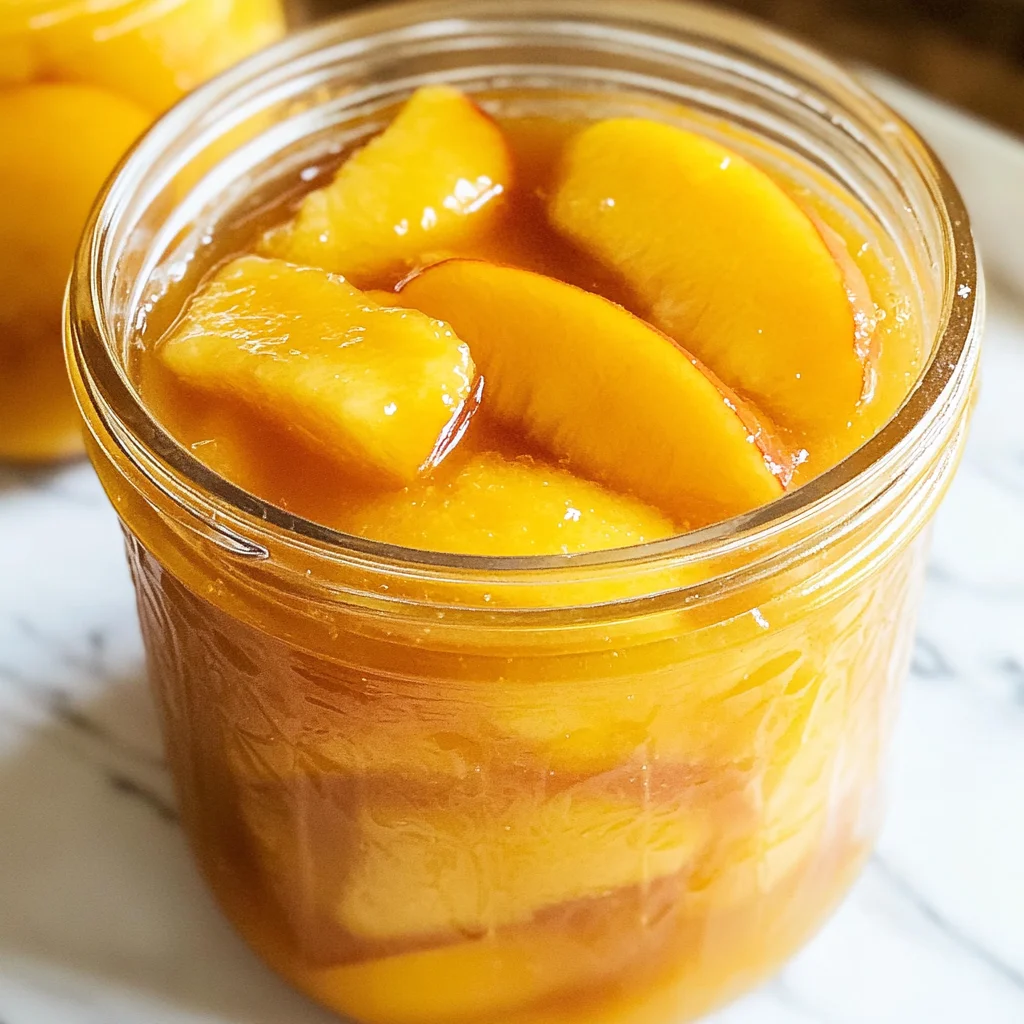
This Homemade Canned Peach Pie Filling is a delightful way to preserve the taste of summer peaches all year round. With its perfect blend of sweetness and spices, this filling is versatile for various desserts such as pies, crisps, and cobblers. Enjoying homemade preserves has never been easier, and you’ll love the convenience of having it ready for any occasion.
Why You’ll Love This Recipe
- Delicious Flavor: The combination of fresh peaches, sugar, and spices creates a sweet and aromatic filling.
- Versatile Use: Perfect for pies, cobblers, or even as a topping for yogurt and ice cream.
- Easy Canning Process: Utilize a simple water bath method to safely preserve your filling.
- Year-Round Enjoyment: Capture the essence of summer in a jar that can be enjoyed during the colder months.
- Customizable Spices: Adjust the cinnamon and nutmeg according to your taste preferences for a unique twist.
Tools and Preparation
To make your homemade canned peach pie filling successfully, having the right tools is essential. Here’s what you’ll need.
Essential Tools and Equipment
- Canning jars (quart-size)
- Large pot
- Ladle
- Measuring cups
- Whisk
- Boiling water bath canner
- Ice bath setup (large bowl with ice water)
Importance of Each Tool
- Canning jars: Essential for storing your peach filling safely while maintaining freshness.
- Large pot: Needed for cooking the filling mixture evenly without overflow.
- Ladle: Helps transfer the hot filling into jars without spills or messes.
Ingredients
This homemade canned peach pie filling is a sweet, spiced preserve made with fresh peaches and a thick, silky base—perfect for baking pies, crisps, or cobblers year-round. With this easy water bath canning method, you can enjoy the flavor of summer peaches even in winter.
Ingredients (for 4–5 quarts)
* 6 quarts fresh peaches, peeled, pitted, and sliced (about 24–30 medium peaches)
* 7 cups granulated sugar
* 2 cups cold water
* 1¾ cups clear jel (cook-type, not instant)
* 5¼ cups peach juice or water (from peaches or bottled)
* ½ cup bottled lemon juice
* 1½ teaspoons ground cinnamon (optional)
* ½ teaspoon ground nutmeg (optional)
How to Make Homemade Canned Peach Pie Filling
Step 1: Prepare Jars
Wash and sterilize 4–5 quart-size canning jars. Keep them warm until you’re ready to fill them.
Step 2: Prepare Peaches
Blanch peaches in boiling water for 30–60 seconds. Transfer them to an ice bath immediately afterward. Peel, pit, and slice the peaches. To prevent browning, soak slices in water mixed with lemon juice or ascorbic acid.
Step 3: Blanch Slices
Boil sliced peaches in batches for about 1 minute. Drain them well and keep warm.
Step 4: Make Filling Base
In a large pot, whisk together granulated sugar and clear jel. Slowly stir in cold water and peach juice (or additional water). Cook over medium-high heat while stirring constantly until the mixture thickens and starts bubbling.
Step 5: Add Lemon Juice and Spices
Stir in bottled lemon juice along with optional cinnamon and nutmeg. Bring to a boil for about one minute.
Step 6: Add Peaches
Gently fold in your warm peach slices and return the mixture to a boil while stirring carefully to combine everything evenly.
Step 7: Fill Jars
Using a ladle, fill each warm jar with the hot peach mixture while leaving approximately one inch of headspace at the top. Remove air bubbles by gently tapping jars on a flat surface. Wipe rims clean before sealing with lids and bands securely.
Step 8: Process Jars
Place filled jars into a boiling water bath canner. Process them for about 30 minutes—adjust processing time based on your altitude if necessary.
Step 9: Cool and Store
Allow jars to sit undisturbed for about 12–24 hours after processing. Check seals on each jar before labeling them. Store sealed jars in a cool dark place where they can last up to one year.
This recipe will ensure you have delicious homemade canned peach pie filling ready whenever you need it! Enjoy creating delightful desserts throughout the year.
How to Serve Homemade Canned Peach Pie Filling
Homemade canned peach pie filling is a versatile treat that can elevate various desserts. Here are some delightful ways to serve it:
Classic Peach Pie
- Use your favorite pie crust and fill it generously with the peach filling. Bake until golden brown for a comforting dessert.
Peach Cobbler
- Pour the peach filling into a baking dish, top with biscuit dough, and bake until bubbly for a warm, rustic dessert.
Peach Crisp
- Combine the peach filling with a crumbly topping of oats, flour, and butter. Bake until crispy for a delightful texture contrast.
Ice Cream Topping
- Warm the peach filling slightly and serve it over vanilla or cinnamon ice cream for a refreshing summer dessert.
Breakfast Parfait
- Layer the peach filling with yogurt and granola in a glass for a tasty breakfast or snack option.
Pancake Filling
- Spoon the peach filling onto pancakes or waffles instead of syrup for a fruity twist on breakfast classics.
How to Perfect Homemade Canned Peach Pie Filling
To ensure your homemade canned peach pie filling turns out perfectly every time, follow these helpful tips:
- Use ripe peaches: Choose fresh, ripe peaches for the best flavor and sweetness in your filling.
- Adjust sweetness: Taste your peaches before adding sugar; adjust according to their natural sweetness.
- Stir constantly: When cooking the thickening mixture, stir constantly to avoid lumps and ensure even cooking.
- Maintain headspace: Leave adequate headspace in jars during canning to allow for expansion during processing.
- Check seals: After cooling, check that all jar seals are tight before storing to prevent spoilage.
- Label jars: Mark your jars with the date and contents to keep track of freshness in your pantry.
Best Side Dishes for Homemade Canned Peach Pie Filling
Pairing side dishes with your homemade canned peach pie filling can create a well-rounded meal. Here are some great options:
-
Vanilla Ice Cream
A scoop of creamy vanilla ice cream complements the sweetness of the peach filling beautifully. -
Whipped Cream
Light and airy whipped cream adds a fluffy texture that enhances any dessert using peach filling. -
Biscuit Dough
Serve fresh baked biscuits alongside for dipping into warm peach cobbler or serving with fruit toppings. -
Oatmeal
Stirring in some peach filling into oatmeal makes for a deliciously fruity breakfast option. -
Pound Cake
A slice of moist pound cake acts as an excellent base to highlight the flavors of the canned peaches. -
Yogurt Parfaits
Combine yogurt with granola and dollops of peach filling for a nutritious snack or breakfast dish. -
Cheese Platter
Pairing cheese like brie or goat cheese with peach preserves creates an elegant appetizer option. -
Fruit Salad
A refreshing fruit salad balances out the sweetness while adding more textures and flavors to your meal.
Common Mistakes to Avoid
When making homemade canned peach pie filling, it’s easy to overlook a few important details. Here are some common mistakes and how to avoid them.
- Ignoring sterilization: Failing to properly sterilize jars can lead to spoilage. Always wash and sterilize your jars before use.
- Using the wrong Clear Jel: Using instant Clear Jel instead of cook-type can result in an unsafe product. Ensure you use cook-type Clear Jel for canning safety.
- Not measuring accurately: Improper measurements can affect the texture and taste of your filling. Use precise measurements for ingredients, especially sugar and thickening agents.
- Skipping the boiling step: Neglecting to bring the filling mixture to a boil can lead to improper thickening. Always boil the mixture for at least one minute after adding peaches.
- Insufficient headspace: Not leaving enough headspace in jars during canning can cause overflow. Always leave 1 inch of headspace for expansion during processing.
- Neglecting seal checks: Failing to check jar seals after cooling can lead to wasted efforts. After 12–24 hours, ensure all lids are sealed properly before storing.
Storage & Reheating Instructions
Refrigerator Storage
- Store opened jars in the refrigerator for up to 1 week.
- Use airtight containers to maintain freshness.
Freezing Homemade Canned Peach Pie Filling
- Freeze any leftover filling in freezer-safe containers or heavy-duty freezer bags.
- It can be stored for up to 1 year in the freezer.
Reheating Homemade Canned Peach Pie Filling
- Oven: Preheat your oven to 350°F (175°C) and heat the filling in an oven-safe dish until warm.
- Microwave: Heat in short intervals, stirring in between, until warmed through.
- Stovetop: Simmer on low heat in a saucepan, stirring occasionally until heated.
Frequently Asked Questions
Here are some common questions about homemade canned peach pie filling.
How long does homemade canned peach pie filling last?
Homemade canned peach pie filling can last up to 1 year when stored properly in a cool, dark place.
Can I use frozen peaches for this recipe?
Yes, you can use frozen peaches; just thaw them and drain excess liquid before adding them to the filling.
What is the best way to thicken peach pie filling?
Using cook-type Clear Jel is recommended for thickening fruit fillings safely during canning processes.
Can I customize the spices in my homemade canned peach pie filling?
Absolutely! You can adjust or omit spices like cinnamon and nutmeg according to your taste preferences.
Is it safe to eat canned goods past their expiration date?
While they may still be safe if sealed properly, always check for signs of spoilage such as odor or discoloration before consuming.
How do I use my canned peach pie filling?
You can use this versatile filling for pies, cobblers, crisps, or even as a topping for yogurt and pancakes!
Final Thoughts
Homemade canned peach pie filling is not only delicious but also offers versatility throughout the year. You can customize flavors or use it as a base for various desserts. We encourage you to try making this delightful preserve at home!
Homemade Canned Peach Pie Filling
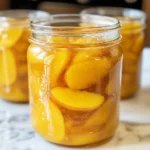
Homemade Canned Peach Pie Filling is a delightful way to capture the essence of summer, allowing you to enjoy the sweet and aromatic flavor of fresh peaches all year round. This versatile filling is perfect for a variety of desserts, including pies, cobblers, and crisps, making it an essential addition to any kitchen pantry. The easy water bath canning process ensures that your peach filling is preserved safely while maintaining its delicious taste. Customize the spices to suit your palate, and you’ll have a unique treat ready for any occasion.
- Prep Time: 30 minutes
- Cook Time: 30 minutes
- Total Time: 1 hour
- Yield: Approximately 10 servings 1x
- Category: Dessert
- Method: Canning
- Cuisine: American
Ingredients
- 6 quarts fresh peaches (peeled, pitted, sliced)
- 7 cups granulated sugar
- 2 cups cold water
- 1¾ cups clear jel (cook-type)
- 5¼ cups peach juice or water
- ½ cup bottled lemon juice
- 1½ teaspoons ground cinnamon (optional)
- ½ teaspoon ground nutmeg (optional)
Instructions
- Prepare Jars: Sterilize quart-size canning jars and keep them warm.
- Prepare Peaches: Blanch peaches in boiling water briefly, then transfer to an ice bath. Peel, pit, and slice them.
- Blanch Slices: Boil sliced peaches in batches for about one minute; drain and keep warm.
- Make Filling Base: In a large pot, whisk together sugar and clear jel. Gradually stir in cold water and peach juice while cooking over medium-high heat until thickened.
- Add Lemon Juice and Spices: Stir in lemon juice along with optional spices; boil for one minute.
- Add Peaches: Gently fold in warm peach slices and return mixture to a boil.
- Fill Jars: Ladle hot filling into jars leaving one inch of headspace; remove air bubbles and seal jars securely.
- Process Jars: Place jars in boiling water bath canner; process for about 30 minutes.
- Cool and Store: Let jars sit undisturbed for 12–24 hours before checking seals and storing.
Nutrition
- Serving Size: 1/2 cup (120g)
- Calories: 220
- Sugar: 50g
- Sodium: 5mg
- Fat: 0g
- Saturated Fat: 0g
- Unsaturated Fat: 0g
- Trans Fat: 0g
- Carbohydrates: 56g
- Fiber: 2g
- Protein: 1g
- Cholesterol: 0mg
Leave a Comment